I got into pinhole photography recently because I like the idea of building my own camera, taking photographs with that camera, and developing my own film and prints. Recently, I was wandering the aisles at Ax-Man and came across some 1 quart metal cans. I assume they were manufactured as paint cans but who knows. They looked like an ideal shape, material, and price to be made into pinhole cameras so, I bought half a dozen. It was quite easy to turn these cans into very usable pinhole cameras. Here is how I did it.
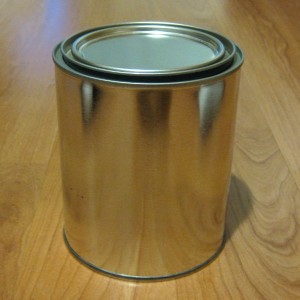
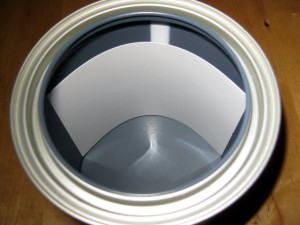
I don’t use traditional film in these cameras. Instead, I use photographic paper like you would use to make prints from film negatives. The advantages to using photographic paper instead of film are that photographic paper can be handled in red light (film must remain in complete darkness) and is easier to develop. The disadvantage is that photographic paper is not nearly as sensitive as film. I use Ilford MGIV Multigrade IV RC De Luxe paper with a pearl finish. I use it because I can find it locally but any RC photographic paper should work. I buy the paper in 5″ X 7″ size and cut each sheet in half (5″ X 3.5″) and one half fits nicely into the quart cans.
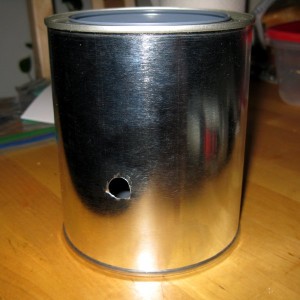
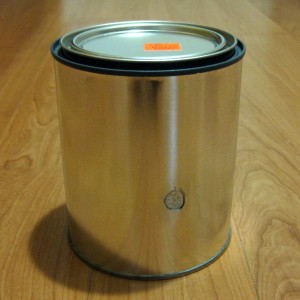
The only modification I needed to make to the quart can was to drill a 3/8″ hole into the can about 2″ from the bottom. The exact size of the hole isn’t important but a hole that is too small may not allow the full sheet of paper to be fully exposed. I also needed to grind around the hole with a Dremel tool to smooth out the hole, especially inside the can.
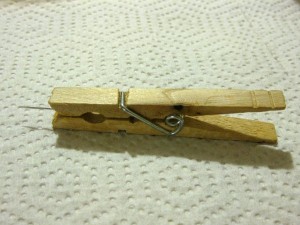
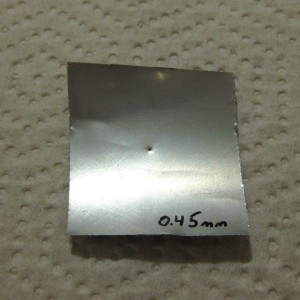
The most difficult part of this project was creating the pinhole which allows light in to expose the paper. The pinhole was made in a piece of aluminum cut from a pop can. I calculated that my optimal pinhole diameter was 0.45mm using MrPinhole. To make the pinhole, I first made a simple tool by epoxying a sewing needle into the jaws of a wooden clothes pin. FYI A #9 sewing needle has a diameter of 0.5mm and a #6 has a diameter of 0.7mm.
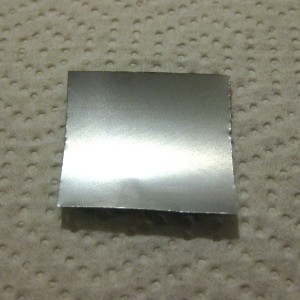
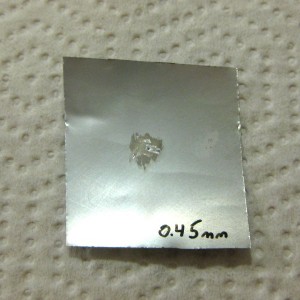
Once the epoxy was dry, I used the tool to make a small pinhole in the aluminum square. I pushed the pin into the aluminum and gently twisted the pin as I withdrew it. Twisting really helps to make a nice round, even hole. I used a microscope to verify that the hole was perfectly round and had the proper diameter. Because I made 6 of these cameras, I wanted to make sure each pinhole had the same diameter. I found that there was quite a bit of variation in pinhole diameter and I had to make many dozen attempts to get 6 holes of equal size. If you make just one camera, it probably doesn’t matter too much if your hole isn’t exactly 0.45mm wide. Wider holes let in more light and need a shorter exposure time but the resulting image may be less sharp than one made by a smaller hole.
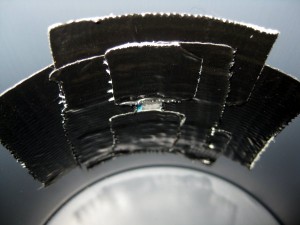
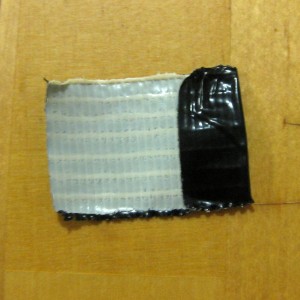
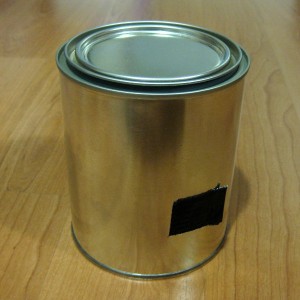
Once I had a suitable hole, I used a Dremel tool to grind down both sides of the aluminum around the hole. Thinner metal will cause less light scatter and make for a sharper image. Then I simply used black duct tape to tape the aluminum square to in inside of the can making sure to center the pinhole in the 3/8″ hole I drilled in the can. I made a simple shutter from another piece of black duct tape. It is crude but seems to work pretty well. Finally, I loaded some paper, close the lid, and took some photos. I calculated exposure times with the free software Pinhole Designer. I found that I have to make some slight modifications to the exposures that the software gave me. For instance, in bright sunlight I expose photos for about 13 seconds. In slightly less light, I go up to about 27 seconds. It took a little experimenting to find the proper exposure times.
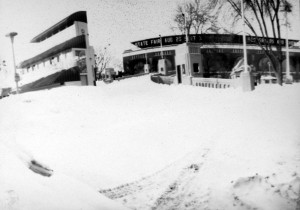
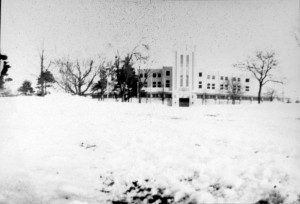
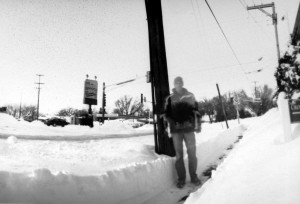
I develop my paper negative just like I would develop a paper print. I won’t go into those details here but is is pretty easy. The paper is a negative image so it will be mirrored and black will be white and white will be black. It is pretty easy to make contact prints from the negatives and you develop those just like you develop the negatives, which is nice. Here are a few early photos I took with my quart can pinhole cameras.
For more information and inspiration check out the forums at f295. Keep shooting!

Great stuff however let me make a few suggestions an oats box is good or something like this I size for a full sheet of paper always for many reasons and the size I recommend is 8 X 10 its possible to up size but this involves more expensive paper. The size is good for display and is availably you don’t want to cut it down if you font have to. I spray paint the inside and out side and top (not really necessary) The cap is taped in place to carry about and can be reloaded in the field if you have a bag known as a changeing bag desinged for use to change film without a darkroom. Mark the paper packages so you can feel which is which and you will not mix up the new and exposed papers.